


Master Notion Timelines
Supercharge your project and task management

Customize Your Timeline

Today I’ll teach you how to tailor and customize a Notion timeline that fits your needs perfectly.
Hopefully, after today, you can avoid my mistake below.

Table Vs. Timeline Properties
Unlike other database views, the timeline view has two sections.
On the left, you have the “Table”.

On the right, you have the “Timeline”.

Each horizontal segment, going from the table on the left to the timeline on the right, is a single entry.
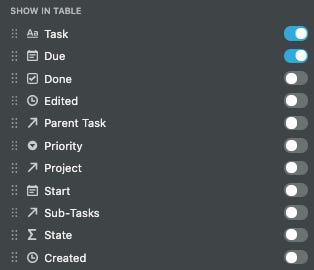
Moreover, you get to show specific and separate properties on both sides.
For example, in the “Show in Table” section, I only show the task name and due date.
On the other hand, I toggle many more properties on in the Timeline view.
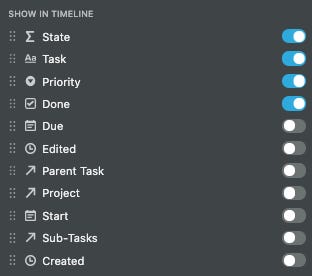
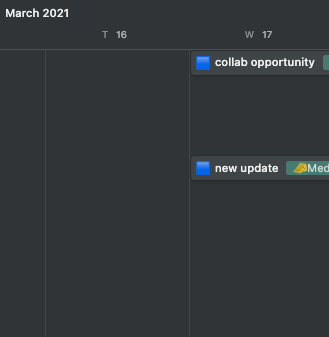
These settings are mirrored in the timeline view shown below. (State is the blue squares, which becomes red when due and black when overdue)

Adjusting the Timeline
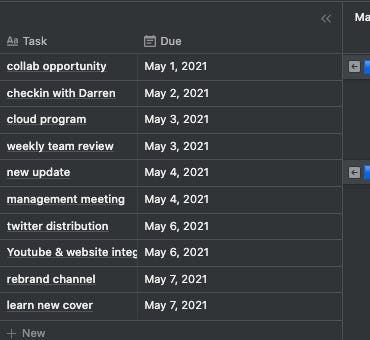
Similar to the sidebar on Notion, you can drag the edge of the table on the left to resize it.
Undragged:
Dragged Left:
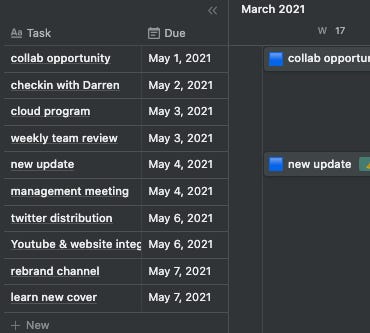
Also, you can directly set the start and end date of the Timeline by dragging on the edge of each timeline.
Undragged:
Dragged Left:

Lastly, You can also visualize different time periods by clicking on the top right.

Tailor Your Dates
You can also choose between two unique date settings if you click “Timeline By” and toggle this button.

Firstly, you can have one date property determine both start and end of timeline entries on each row.
Secondly, instead, you can have two dates. One determines start; other, end.
Conclusion
Many people I know are scared of Timelines. Hopefully, I end the situation below.

If you enjoyed this issue, feel free to hit the heart button. If you’re new and enjoyed this issue, feel free to hit the subscribe button below and get a free template of my base all-in-one Notion workspace. Thanks again for everyone’s support; it inspires me every day to write!